Good morning. A lovey hands on science and art activity today! It's great for smaller kids but actually in my experience, much older children also really enjoy it too.
You will need: milk (any type!), a shallow tray, washing up liquid, a pipette or something to drip food colouring, 3 or more different food colourings, a cotton wool bud (or a paint brush would work well). If you want to make marbled paper you can use any paper to dip, but watercolour paper works amazingly well! If you do this, you will need a paper drying area set up too.
Cut your watercolor paper to a size that easily fits within your tray (we used small squares). Place the stack of paper near your tray because once you start to see swirling colours you need to use the paper quickly. Pour a thin layer of milk into the bottom of your tray. Using the pipette, add in a few (start with about 3) drops of food colouring scattered around the milk. Now for the fun bit!
Dip the end of the cotton wool bud into the washing up liquid. Tap the excess off the end and touch it into a dot of the food colouring, in the milk. The soap and food coloring will now start interacting with each other and the colours will swirl around. Little and often works best!
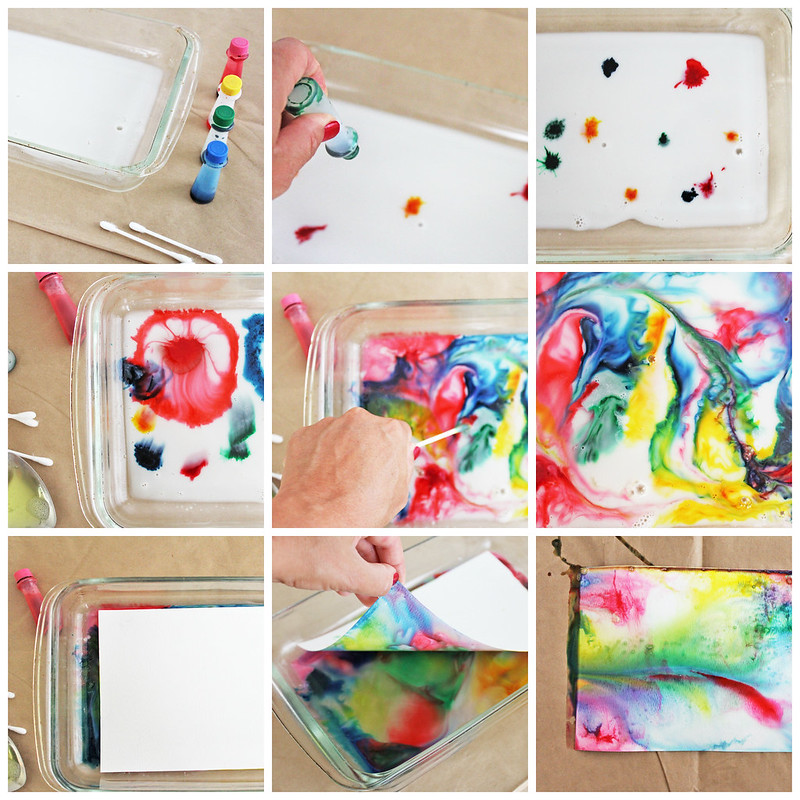
This is exciting enough on its own, but if you want to extend it, or you have older children, you can make marbled paper. To do this, before the colours get too mixed together take one sheet of your paper and lay it on top of the milk mixture. Press down. Gently lift it, set aside to dry, and continue with additional sheets.
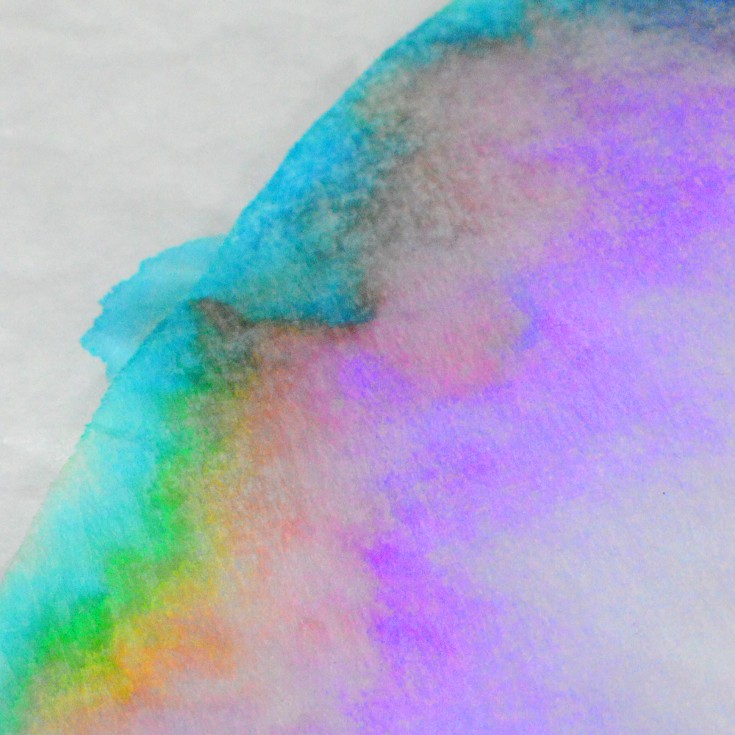
Leave to dry completely. We were amazed with the results! Enjoy!
If you enjoyed this, you may also enjoy some of our Science activities: chromatography, salt patterns, the ice challenge or nature egg dying.
Thursday's activity is always one that can be done at home, simply. For today, you will need:
A few colours of felt tip pens (we suggest red and blue for minimal change and black, orange, purple and green for great colour splitting. But you can use any colours you'd like!).
Kitchen towel or coffee filter paper cut into strips or semi circles
A small tray or bowl filled with water
Something to leave wet paper to dry on
Draw a line roughly 2 cm from the edge of the paper. With the strips it doesn't matter which end you use, but with the semi circles, if you want to make butterflies you will need to draw the line 2cm from the curved edge. Make sure the line is relatively thick.
Now hold the kitchen towel/filter paper in the water, keeping your drawn line above the water, for 60 seconds. It's a great way to practise counting and to help with motor skills. Once the 60 seconds is over, place on a tray to dry. My children really enjoy watching the papers slowly change - so start to see some changes immediately and then as the colours change you see new lines form. Our favourite was black!
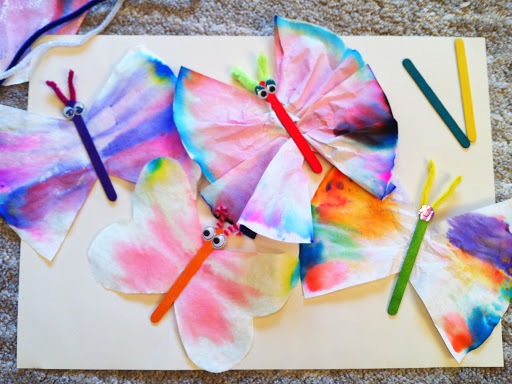
If you want to develop this activity, you can then use the dried semi circles to make butterflies. Carefully fold the semi circle to create a fan , then using a stick from the garden, or an old lolly pop stick stick it along the middle.
They look great hanging up.
If you enjoyed this, you might also enjoy some of our other activities. Splitting food colouring (very different results with some colours), colour mixing volcanos and colour mixing and pouring water.
Hopefully you saw the pre planning for this activity yesterday. Otherwise, you will need to do some freezing before you can complete this activity... its worth it though, it's good one!
You will need: A bowl, some paint or food colouring, water.
Mix the water and colouring together. Add it to the bowl and freeze.
Next you will need: salt (plenty) and water. A pipette is useful, but not essential.
Take the frozen coloured water out of the freezer. Turn it out of the bowl, so you just have the ice. Pop it into the garden or onto a tray (it's going to melt!). Ask your child(ren) to rub salt onto the top of the ice block. Use the pipette to ad small amounts of water to help the salt melt the ice. If you don't have a pippette, wet hands and rub water over the ice. Now leave for a few minutes (if its a hot day, 5 minutes will be fine, for a cold day, 15 is ideal).
Revisit the ice. Hold the block up to the sky/sunshine. What can you see?
Note: you should see the salt has made tunnels/ravines in the ice. You might want to discuss how/why this happened (salt lowers the freezing temperature of the water, so melts the ice).
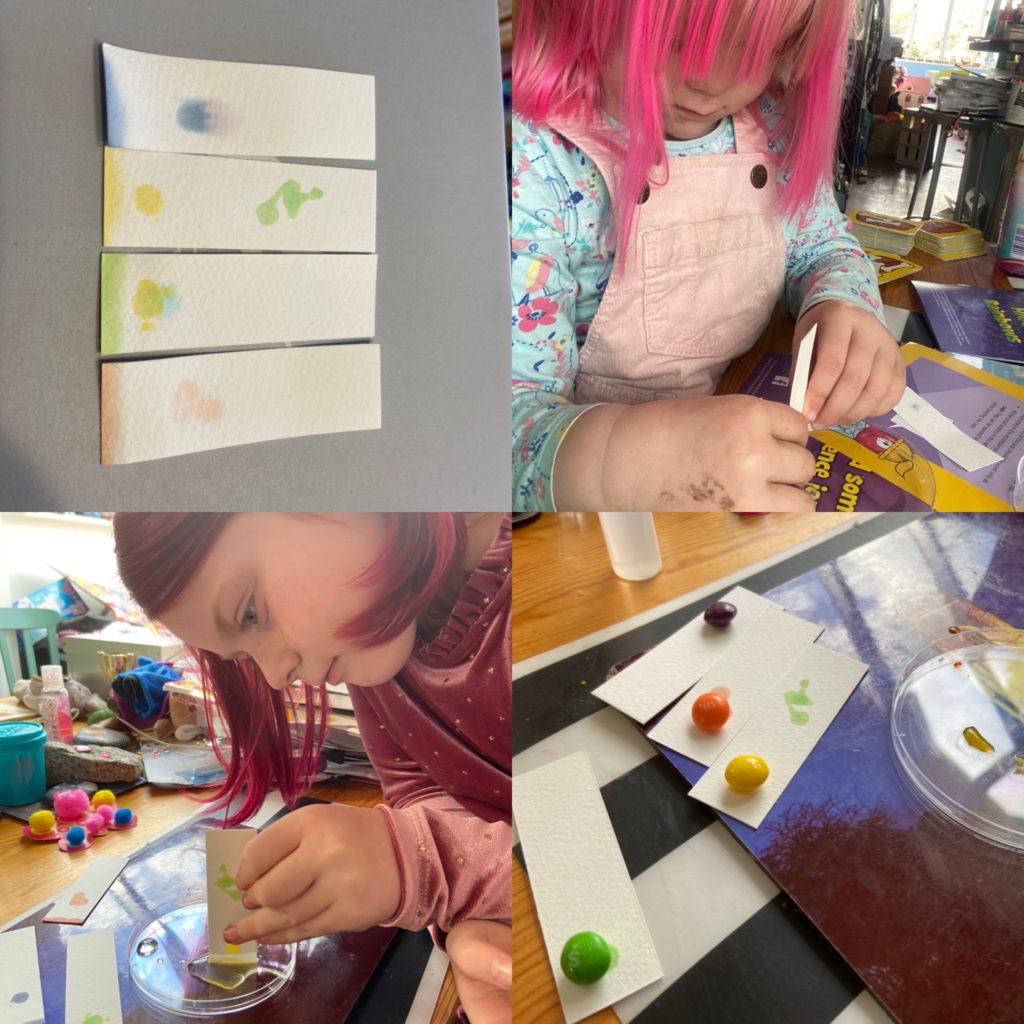
You will need: some skittles/smarties/m&ms. Coffee filter paper cut into strips or kitchen towel cut into strips, a small plate with a rim (you're going to put water in it).
Put hold a sweet into a tiny bit of water. Count to 20. Then place the sweet onto the bottom (about 1 cm from the end) and leave it to dry. Repeat 3 more times with different coloured sweets (we recommend 1 primary colour - red or yellow, then other colours - purple and green work well). You should have a small coloured circle where each of the sweets have been.
Have a chat with your children. Do they remember the colour mixing from earlier in the week? How do you make green/purple etc.
Now clean the water and hold the strip of paper just under the occurred circle in the water. Count to 60 - you should see the water absorbing up the paper. Now leave the paper to dry (and some sneaky sweet eating!)
Come back to the paper. Can you see how the colours have separated? You should see really clearly how the colours have been mixed.
It might be the Easter holidays, but as lockdown continues, so do we. We will continue to post a daily activity through the holidays, as well as at the weekends. Enjoy!
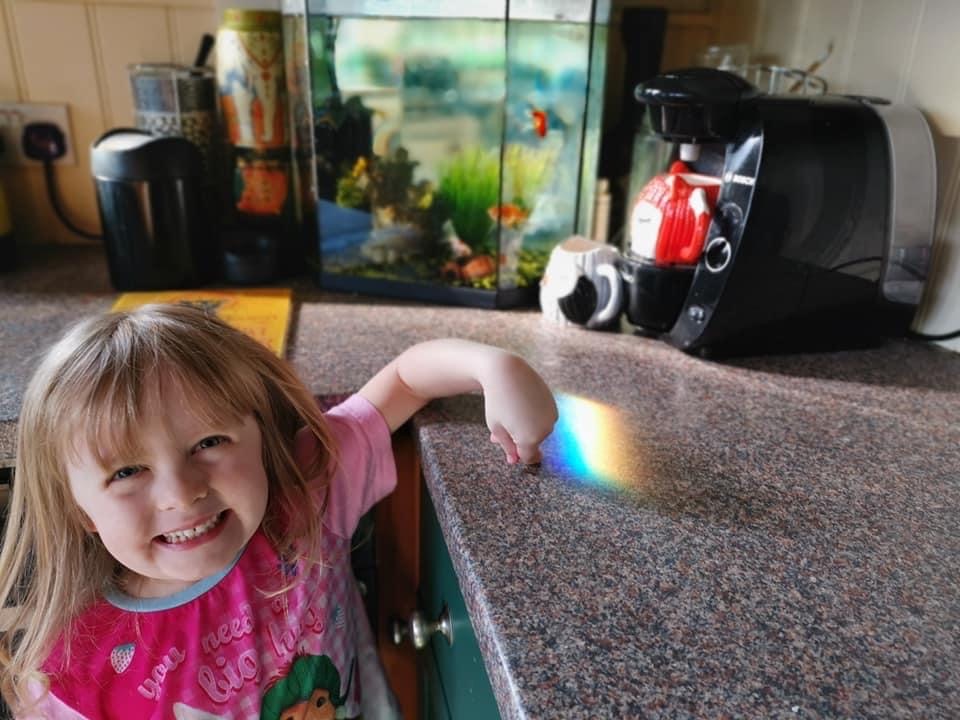
You will need: a sheet of white paper, a small mirror, a glass of water, a small bowl of water, a CD, and (not necessary but fun) a garden hose.
Rainbow 1 - this one is the easiest! Fill a large bowl or dish halfway with water and prop up the mirror inside it so some of the mirror is under the water and some is out (about half and half works well). Pop the bowl near a sunny window with direct light coming in so that it hits the mirror (early morning or early evening light works best). Holding a large white piece of paper above the mirror to catch the rainbow. You might have to move a bit until you find it. Now, move around the paper closer and then further away from the mirror to see how your rainbow changes.

Rainbow 2 - A glass of water. Take a piece of paper and cut a thin rectangle (like a vertical thin postbox) into the middle. Tape this onto the side of a smooth, clear drinking glass so that the sun’s rays can pass through. Fill the glass with water, all the way to the top. Place the glass on a white floor or white piece of paper, making sure the sun’s rays are shining through the slot in your paper and hitting the surface of the water. This is best done in the middle of the day, in the sunniest spot of your garden. You should see a mini-rainbow appear below the glass!
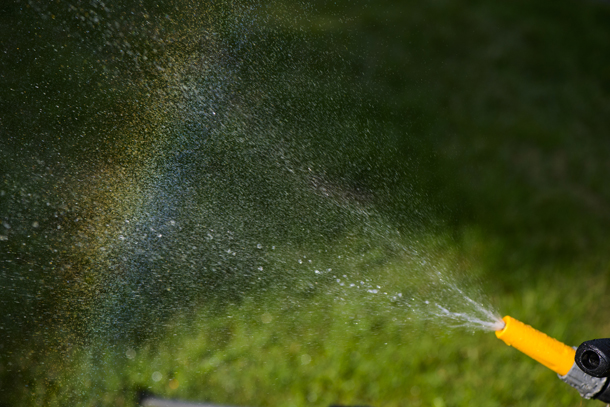
Rainbow 3, a water spray rainbow! Stand in a spot where the sun is behind you, shining on your back. (You will be able to see your shadow in front of you when the sun is behind you.) Put your thumb over part of the end of the hose so that the water creates a spray when it comes out (or use a spray attachment). Hold the hose out in front of you and turn slowly. Keep you finger over the hose to make a spray. Watch for a rainbow to appear above the water. A rainbow should appear just above the spray of water from your hose when sunlight hits the water at the right angle.
You might want to explain why this happens. This is how I usually explain it: Sunlight is made up of many colours all put together. A rainbow appears when the light gets split up into its 7 different colours: red, orange, yellow, green, blue, indigo and violet. The reason the light gets split up, is because it is passing through water that bends the light. The different colours bend in different amounts. The least bendy colour, Red, appears on the top of the rainbow, while the most bendy colour, violet ends up on the bottom – all the other colours end up in between.
When we see a rainbow in the sky, it is usually when the sun is shining through millions of tiny raindrops floating in the sky. All of the raindrops are working together, bending the light and projecting the rainbow.