Nothing like a bit of fun maths to get us all being creative! This is very simple, but effective.
You will need: a piece of paper, a pen, glue or a camera (if you want to keep your picture) and lots of interesting finds collected from your garden or during your daily walk. When you are collecting the finds, make sure you try and collect them in even numbers (2, 4 etc).
Once you have your finds, take your piece of paper. Draw a line down the middle of the paper (or fold it in half). Now work with your child to create a symmetrical pattern. You can do this as many times as you'd like.
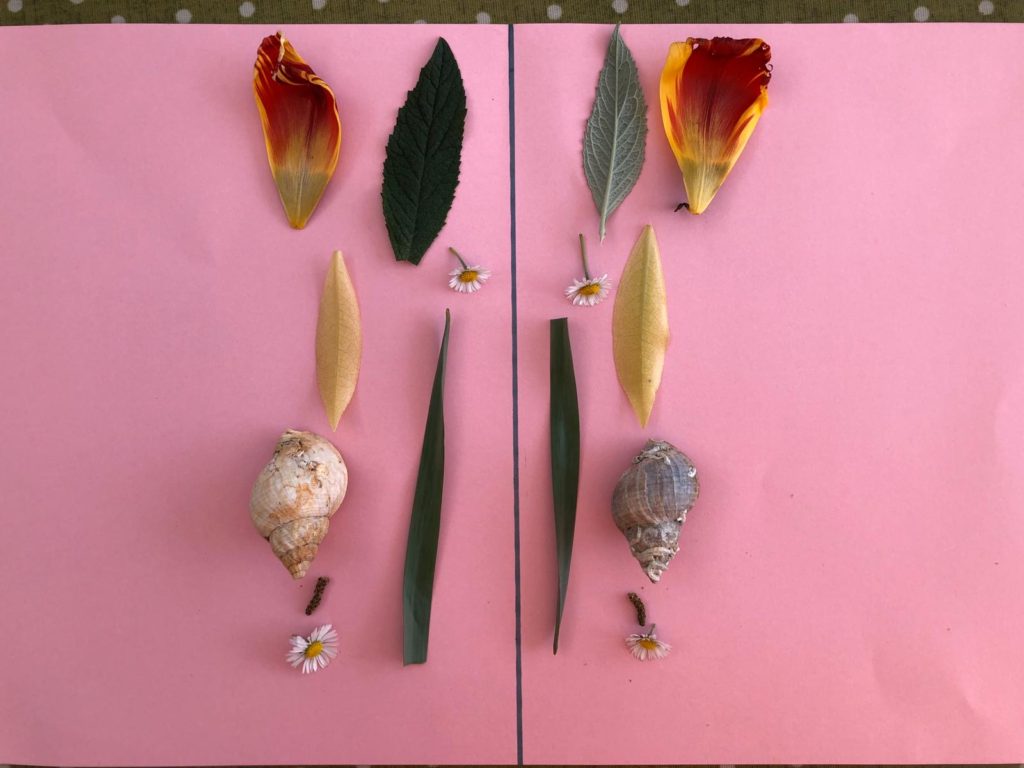
You may want to discuss other places you can find symmetrical patterns and go on a hunt round the garden for them. Many leaves, ants, woodlice, ladybirds, butterflies have symmetrical patterns on them.
Its been rather windy here for the past few days and it sounds like it has been similar around the UK. We thought making a wind sock to test the direction of the wind is fun and then using it in the garden or during your walk (or both!) playing with it afterwards is also great!
You will need: Tissue paper (or a newspaper sheet would do - thin paper is best as it is lighter). A strip of card (or a few strips of paper stuck together to make a thicker, stronger strip), glue, a hole punch (or something to make holes - a sharp pencil would do), some string.
- Take a big piece of tissue paper and a strip of card.
- Glue the card onto one end
- Bend the card into a circle and stick the ends together
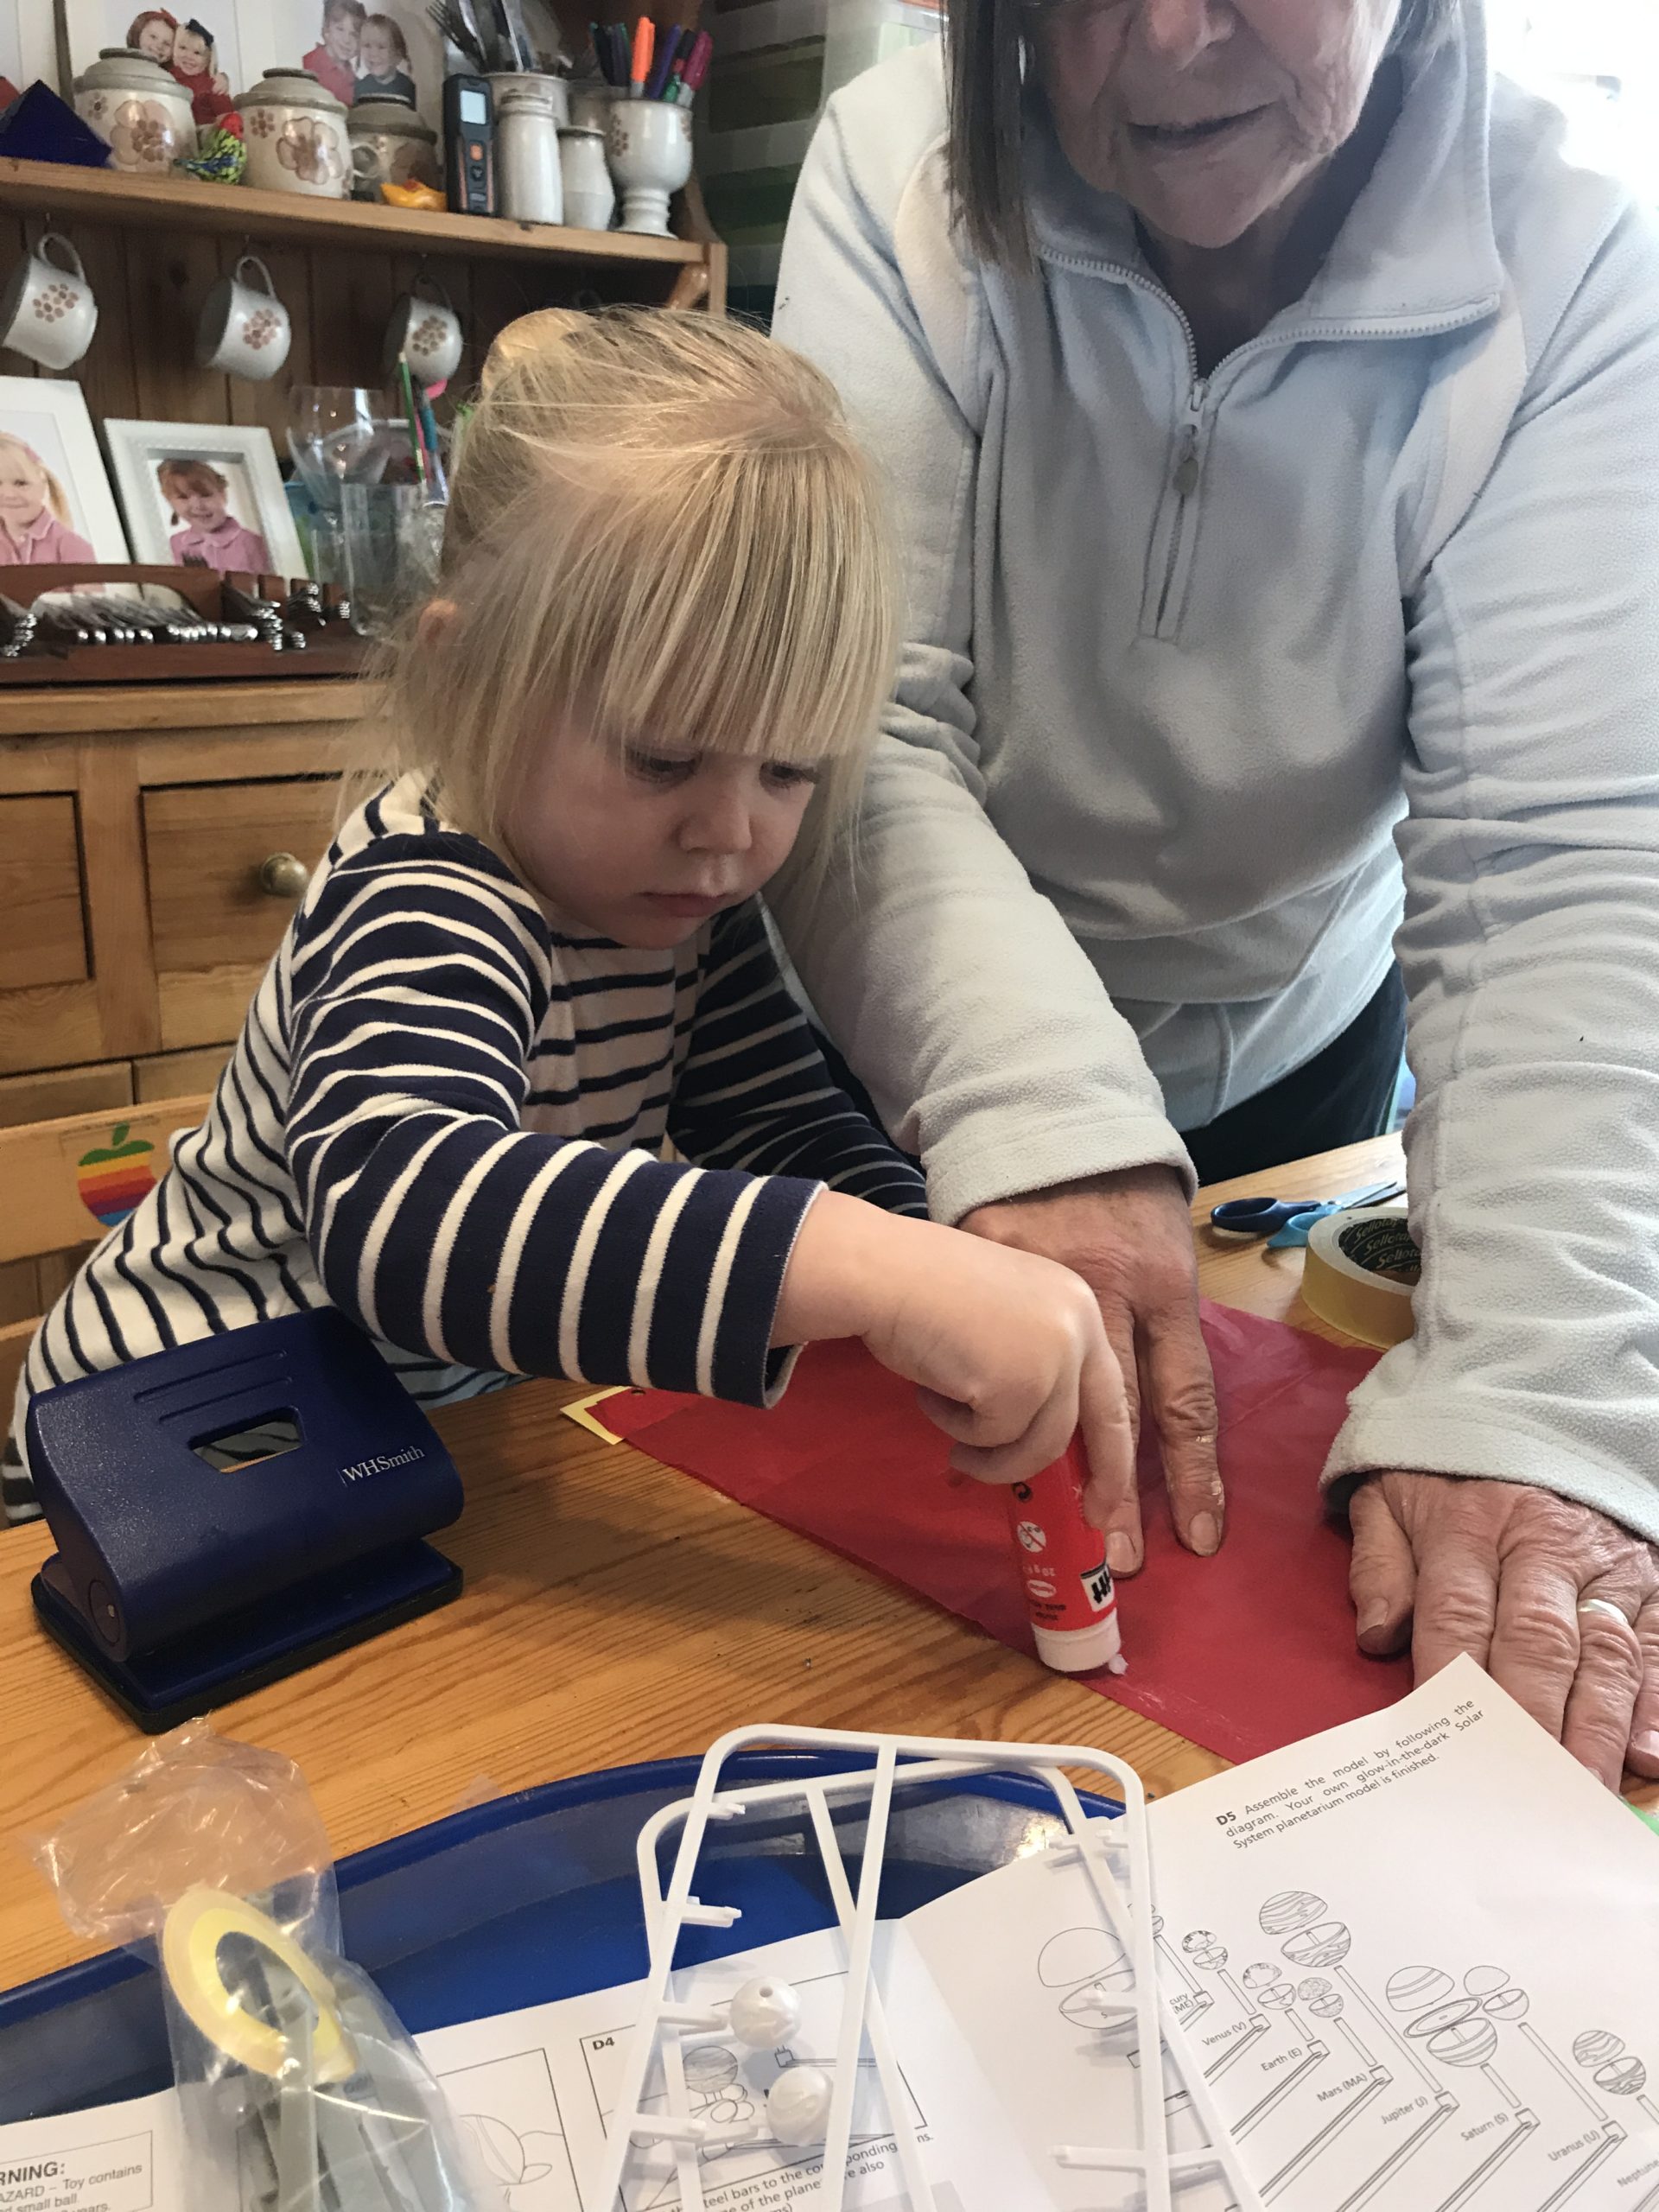
- tape the tissue paper along the seam to make a tube
- Glue tissue paper tails around the opening in a zig-zag pattern
- tie or tape 4 strings to the card
Hold up your windsock and see if you can work out which way the wind is blowing. You can try running up and down the garden (or a local space) to see if it flies behind you better in one direction or another - why do you think this is?
We spent a lot of time running with it, making it fly like a kite and then trying to work out of the wind blows in the same direction everywhere in the garden (it didn't) and looking at why it might change. Enjoy!
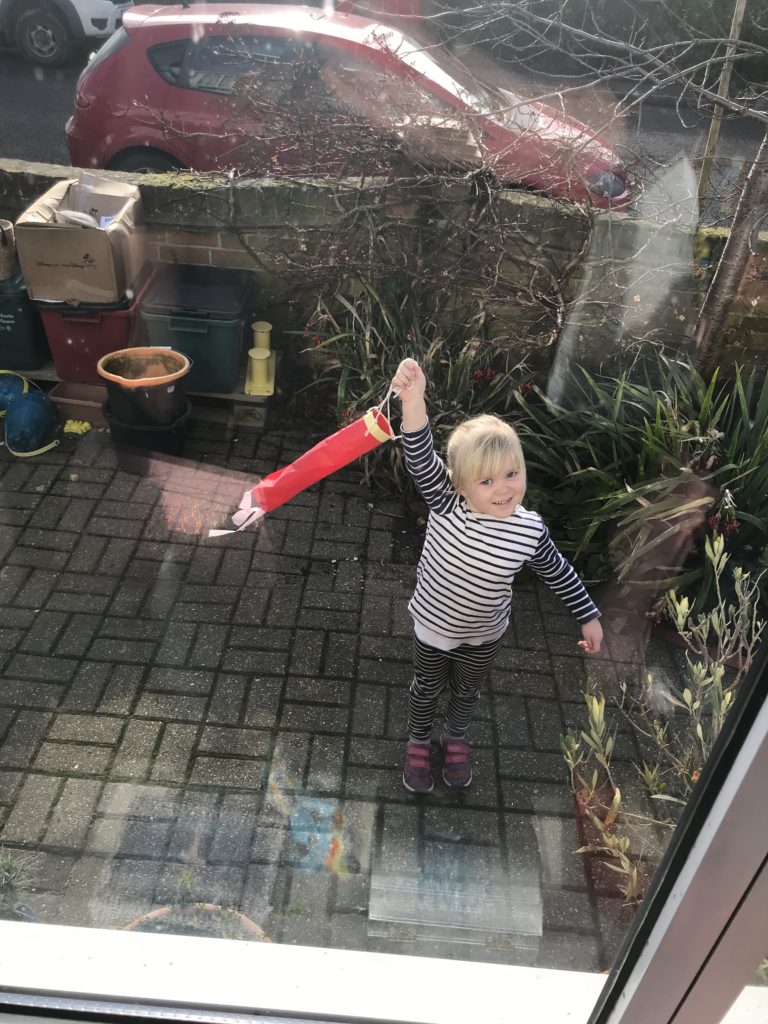
This is pretty simple as long as you have some freezer space, but it is lovely!
You will need: 2 (or more, we used 4) egg shells (try to just have the top broken off), water, some flowers.
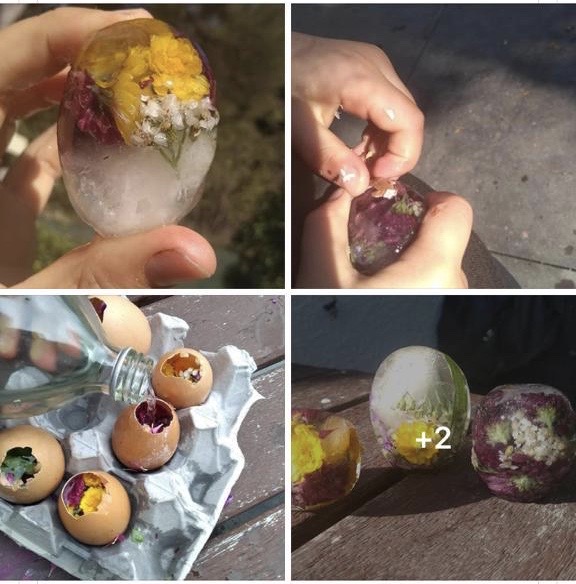
During your daily walk, or in your garden, collect a good handful of flowers - a mix of small and larger flowers works well (really big flowers do not work though, they don't fit into the egg shell!). Place the egg shells into an egg tray carefully, with the hole facing upwards. Fill with the flowers you collected, then carefully pour water into the eggs to fill them (great motor skills for smaller children). Pop them in their tray in the freezer, to turn to ice. Once they are ready (about 4 hours or over night) you can peel off the egg shell and you have some really pretty ice.
If you have older children, once you have trialled this, you can purchase glass resin (small amounts) and make paperweights with it in the same way. If you do this, remember a gently tap the egg tray to move air bubbles out of the resin.
This morning we are having a bit of a maths focus outside. You will need: a piece of paper, a pen and something to lean on, for you activity in the garden or your daily walk. After this, you will need graph paper (ideally, but plain paper will do), colouring pens or pencils, a writing pencil and a ruler.
To start with you are going to do a survey. To do this, you write down your find, and then put a line next to it for each one. When you have completed a block of 4, the 5th line will go across the group (showing the group of 5).
You will need to explain how a tally chat will work and help at the beginning but older children should be able to manage this themselves. The children will probably see loads and want to include them all - thats ok, you might want to end the activity there but if you chose to carry on select 5 or 6 items to include in a bar graph later.
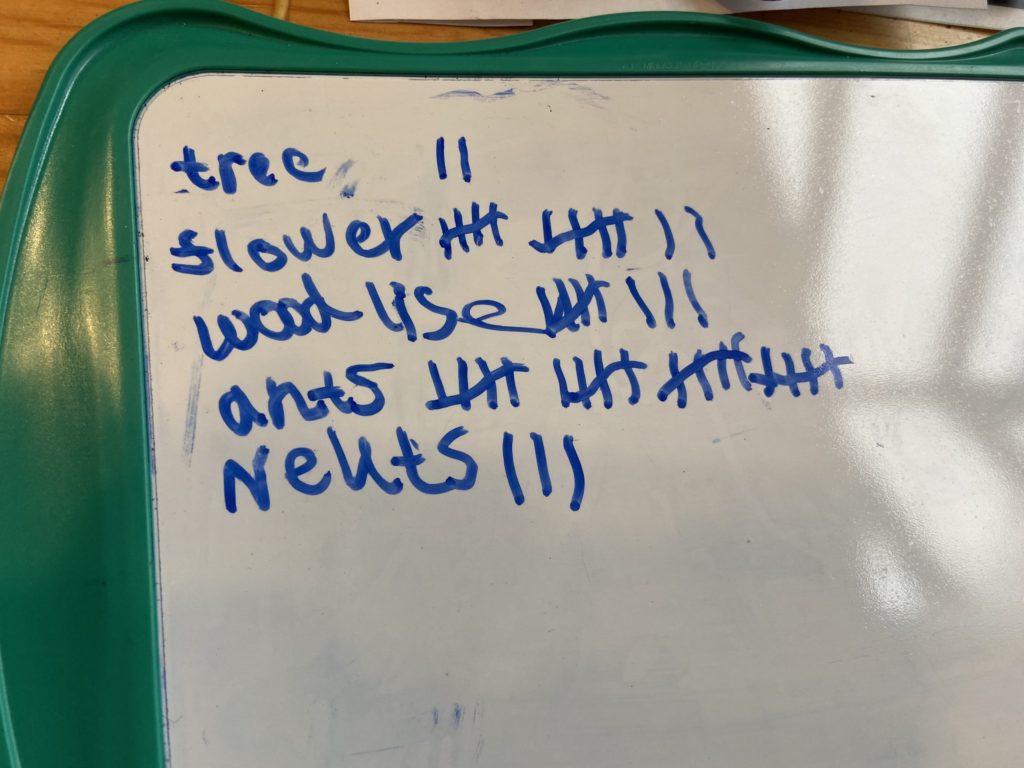
To complete a bar graph. Using the paper draw an axis. The horizontal axis (x) will be the items you spotted and the vertical axis (y) will be the number of the items you spotted. If you have graph paper, it's easy to write the numbers along the vertical axis, if you are using plain paper you will need to measure using the ruler and write a number up each centimetre (start at 0 on the bottom). For younger children parents might want to draw the axis first.
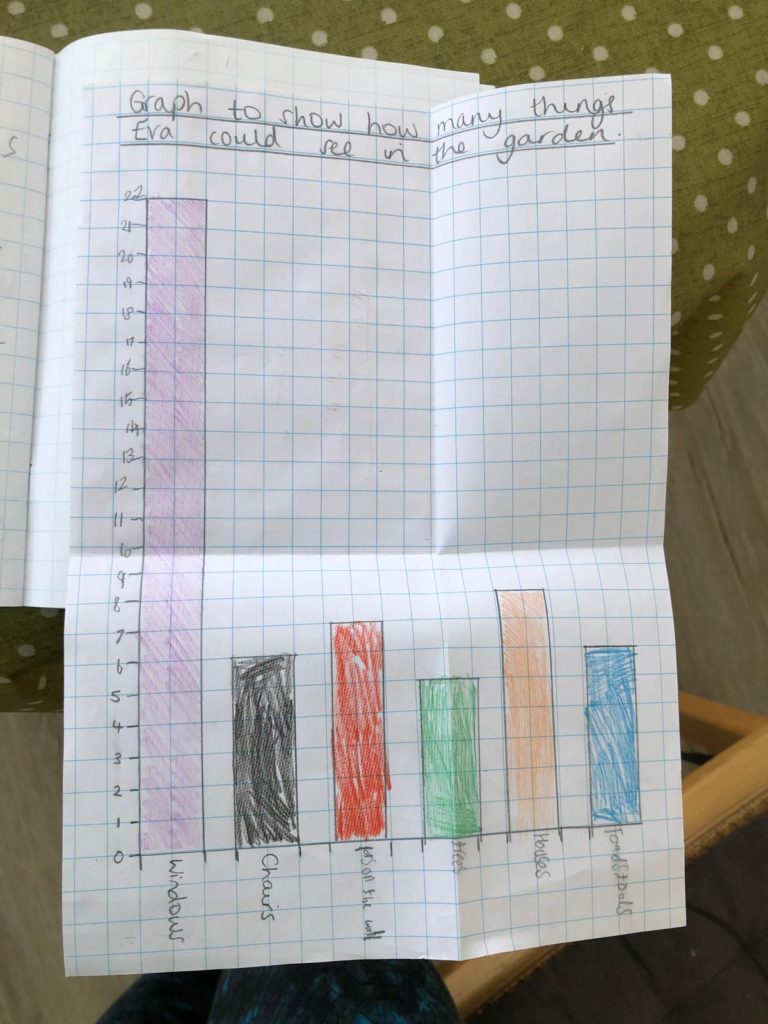
Now you draw a line for each bar on the graph to show the number of items you spotted, and you can colour them in different colours to make it easier to see. Some great maths for a nice outdoor activity!
Keep hold of it, because we will do another one mid summer!
Hopefully you saw the pre planning for this activity yesterday. Otherwise, you will need to do some freezing before you can complete this activity... its worth it though, it's good one!
You will need: A bowl, some paint or food colouring, water.
Mix the water and colouring together. Add it to the bowl and freeze.
Next you will need: salt (plenty) and water. A pipette is useful, but not essential.
Take the frozen coloured water out of the freezer. Turn it out of the bowl, so you just have the ice. Pop it into the garden or onto a tray (it's going to melt!). Ask your child(ren) to rub salt onto the top of the ice block. Use the pipette to ad small amounts of water to help the salt melt the ice. If you don't have a pippette, wet hands and rub water over the ice. Now leave for a few minutes (if its a hot day, 5 minutes will be fine, for a cold day, 15 is ideal).
Revisit the ice. Hold the block up to the sky/sunshine. What can you see?
Note: you should see the salt has made tunnels/ravines in the ice. You might want to discuss how/why this happened (salt lowers the freezing temperature of the water, so melts the ice).
For todays activity that can be completed inside, all you need is a computer and good pair of eyes. We are sending you over to Zooniverse.org, which is people powered science activities. You will be helping with real, current, scientific research projects.
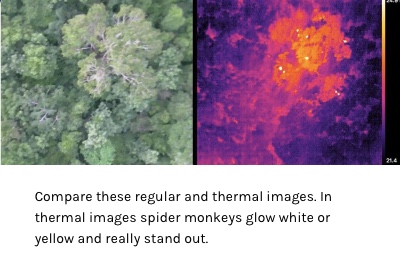
If you click on the link, here, you will be able to help the drones identify spider monkeys in the rainforest. The more people who take part in this, the better the drones become at identify the spider monkeys and the better the protections that can be put in place. Children are great at spotting the monkeys, much better than adults. Just check the first couple of videos and make sure they are being as accurate as possible.
Note: Whilst this is happening, you might want to prepare for tomorrows experiment. This will need: a bowl, some food colouring (or paint), and some water. Mix the paint/food colouring with water. Pop into the bowl and into the freezer. We will use the frozen coloured water tomorrow!

It might be the Easter holidays, but as lockdown continues, so do we. We will continue to post a daily activity through the holidays, as well as at the weekends. Enjoy!
You will need: a sheet of white paper, a small mirror, a glass of water, a small bowl of water, a CD, and (not necessary but fun) a garden hose.
Rainbow 1 - this one is the easiest! Fill a large bowl or dish halfway with water and prop up the mirror inside it so some of the mirror is under the water and some is out (about half and half works well). Pop the bowl near a sunny window with direct light coming in so that it hits the mirror (early morning or early evening light works best). Holding a large white piece of paper above the mirror to catch the rainbow. You might have to move a bit until you find it. Now, move around the paper closer and then further away from the mirror to see how your rainbow changes.
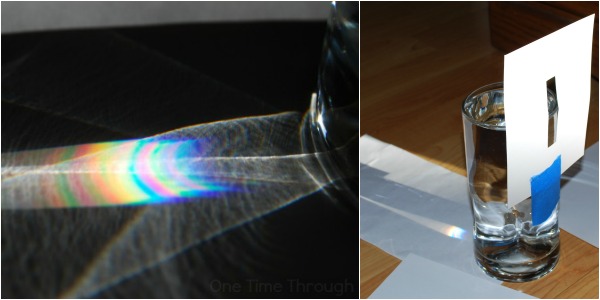
Rainbow 2 - A glass of water. Take a piece of paper and cut a thin rectangle (like a vertical thin postbox) into the middle. Tape this onto the side of a smooth, clear drinking glass so that the sun’s rays can pass through. Fill the glass with water, all the way to the top. Place the glass on a white floor or white piece of paper, making sure the sun’s rays are shining through the slot in your paper and hitting the surface of the water. This is best done in the middle of the day, in the sunniest spot of your garden. You should see a mini-rainbow appear below the glass!
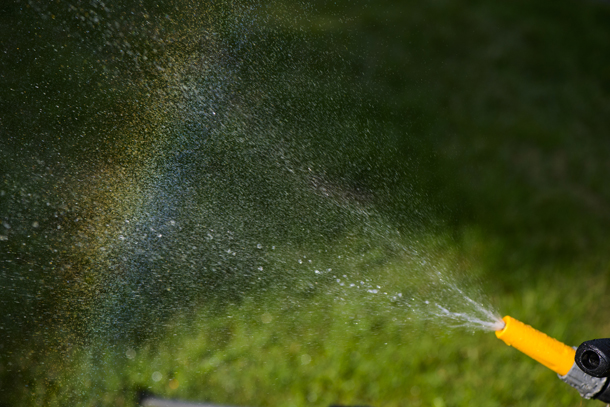
Rainbow 3, a water spray rainbow! Stand in a spot where the sun is behind you, shining on your back. (You will be able to see your shadow in front of you when the sun is behind you.) Put your thumb over part of the end of the hose so that the water creates a spray when it comes out (or use a spray attachment). Hold the hose out in front of you and turn slowly. Keep you finger over the hose to make a spray. Watch for a rainbow to appear above the water. A rainbow should appear just above the spray of water from your hose when sunlight hits the water at the right angle.
You might want to explain why this happens. This is how I usually explain it: Sunlight is made up of many colours all put together. A rainbow appears when the light gets split up into its 7 different colours: red, orange, yellow, green, blue, indigo and violet. The reason the light gets split up, is because it is passing through water that bends the light. The different colours bend in different amounts. The least bendy colour, Red, appears on the top of the rainbow, while the most bendy colour, violet ends up on the bottom – all the other colours end up in between.
When we see a rainbow in the sky, it is usually when the sun is shining through millions of tiny raindrops floating in the sky. All of the raindrops are working together, bending the light and projecting the rainbow.


