Thursday's activity is always one that can be done at home, simply. For today, you will need:
A few colours of felt tip pens (we suggest red and blue for minimal change and black, orange, purple and green for great colour splitting. But you can use any colours you'd like!).
Kitchen towel or coffee filter paper cut into strips or semi circles
A small tray or bowl filled with water
Something to leave wet paper to dry on
Draw a line roughly 2 cm from the edge of the paper. With the strips it doesn't matter which end you use, but with the semi circles, if you want to make butterflies you will need to draw the line 2cm from the curved edge. Make sure the line is relatively thick.
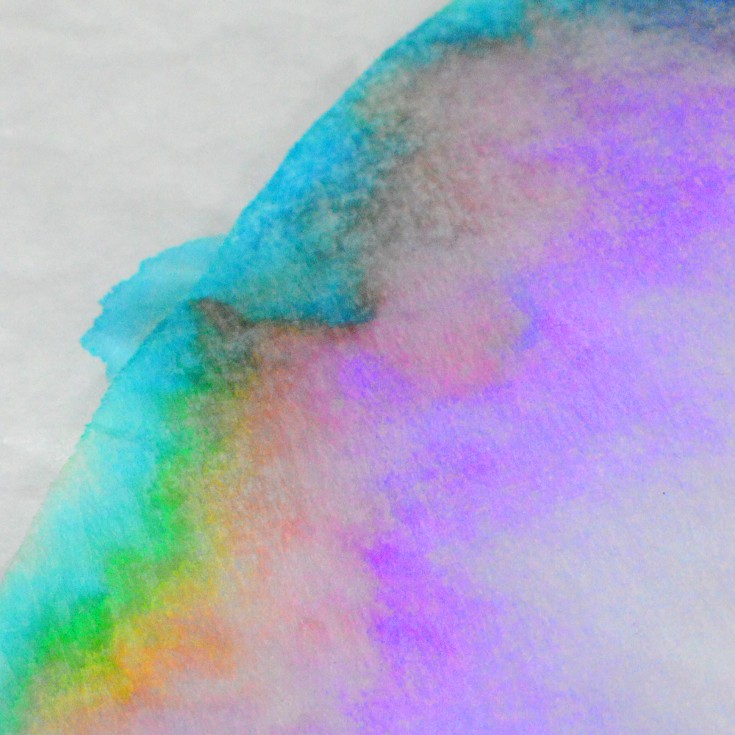
Now hold the kitchen towel/filter paper in the water, keeping your drawn line above the water, for 60 seconds. It's a great way to practise counting and to help with motor skills. Once the 60 seconds is over, place on a tray to dry. My children really enjoy watching the papers slowly change - so start to see some changes immediately and then as the colours change you see new lines form. Our favourite was black!
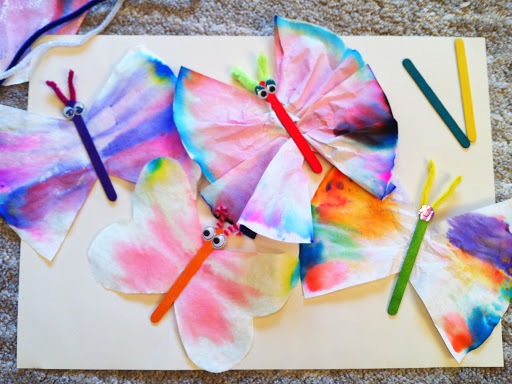
If you want to develop this activity, you can then use the dried semi circles to make butterflies. Carefully fold the semi circle to create a fan , then using a stick from the garden, or an old lolly pop stick stick it along the middle.
They look great hanging up.
If you enjoyed this, you might also enjoy some of our other activities. Splitting food colouring (very different results with some colours), colour mixing volcanos and colour mixing and pouring water.
It's another rainy day here again today and maybe for you too, so I've shuffled the activities a little bit so this task can be an indoor or outdoor one. It takes a bit of planning and waiting but it's worth it!
You will need: For the first bit: food colouring or paint, water, anything to freeze water in - we suggest a bowl or mug - and a freezer. For the second bit: salt, a pipette or water pistol (a paint brush works too) and a tray or plate to work on.
Using a your container, fill 2/3 with water. Now mix in food colouring or paint so you have a strong colour. Now pop it into the freezer. If you don't have the freezer space, you could use an smaller egg cup or a cup quite easily. You might want to do a few of these in different colours. It will probably take a few hours to freeze (we usually freeze in the morning so that we can then do the activity in the afternoon).
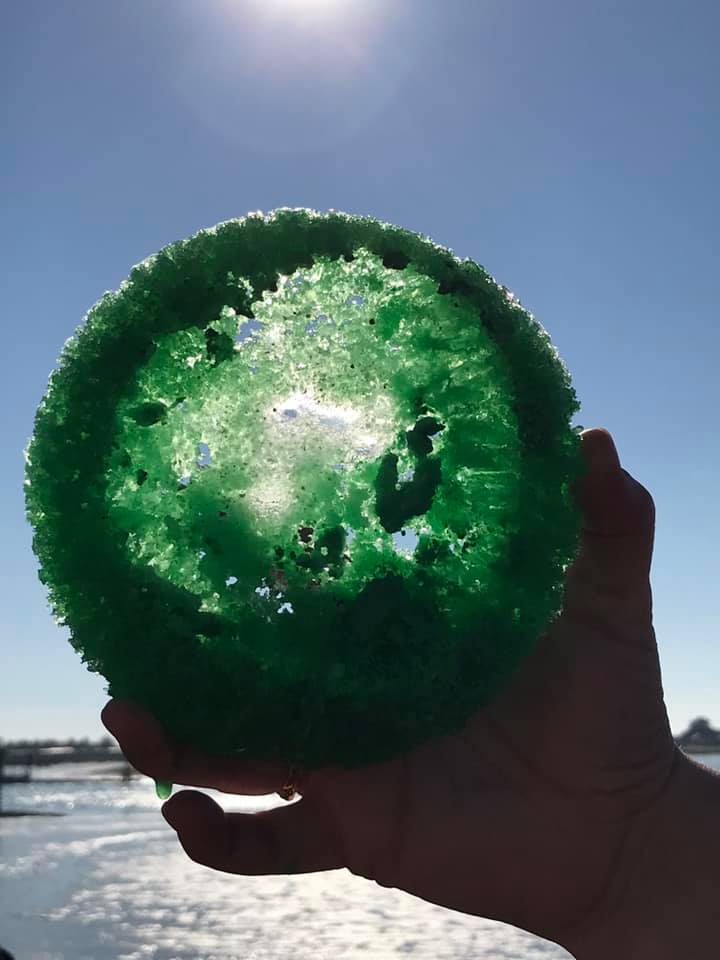
Once your ice has frozen you get the fun bit. Turn the ice out of its container. Pop some salt into a pot and some water in a small cup. Rub the salt onto the top of the ice and the use the pipette, water pistol or paint brush to slowly add water. As you sprinkle the salt and add the water, rubbing it in, you should see tunnels and grooves start to form. It makes an unexpectedly beautiful pattern when you hold it up to a light or window.
We often repeat this activity but make the water we're using with the salt a different colour (for example yellow ice and red water or red ice and blue water) so we see the two colours and some colour mixing too. It's a great revisit of our water colour mixing activity or our food dye splitting activity which are both in our activity bank.
You will need: some skittles/smarties/m&ms. Coffee filter paper cut into strips or kitchen towel cut into strips, a small plate with a rim (you're going to put water in it).
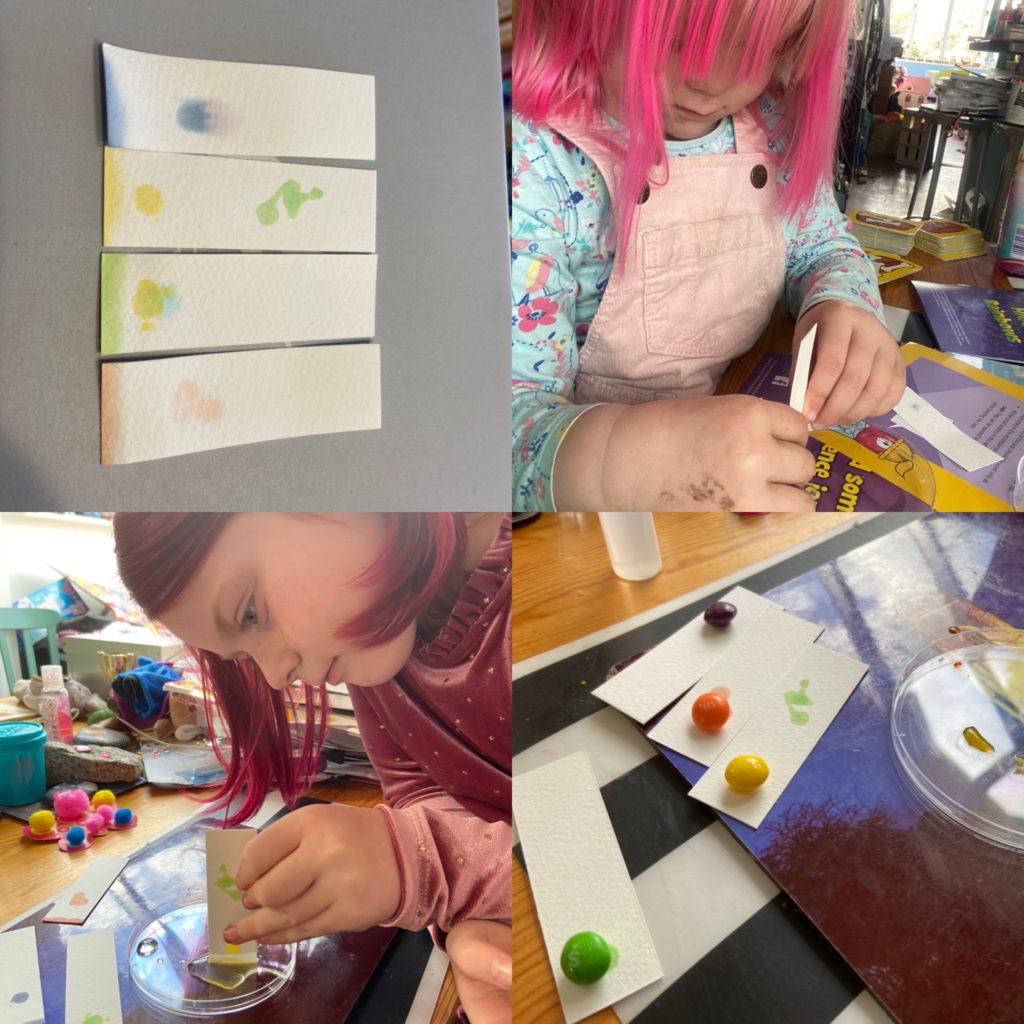
Put hold a sweet into a tiny bit of water. Count to 20. Then place the sweet onto the bottom (about 1 cm from the end) and leave it to dry. Repeat 3 more times with different coloured sweets (we recommend 1 primary colour - red or yellow, then other colours - purple and green work well). You should have a small coloured circle where each of the sweets have been.
Have a chat with your children. Do they remember the colour mixing from earlier in the week? How do you make green/purple etc.
Now clean the water and hold the strip of paper just under the occurred circle in the water. Count to 60 - you should see the water absorbing up the paper. Now leave the paper to dry (and some sneaky sweet eating!)
Come back to the paper. Can you see how the colours have separated? You should see really clearly how the colours have been mixed.
This is a favourite for the children I work with, even the older ones!
You will need: 3 colours of water (ideally yellow, red and blue). The easiest way to do this is to use food colouring and water and mix them together, but paint and water works just as well. 6 cups (3 with the water colours in and 3 empty). A jug of water. A pipette or old medicine syringe is helpful but not essential.
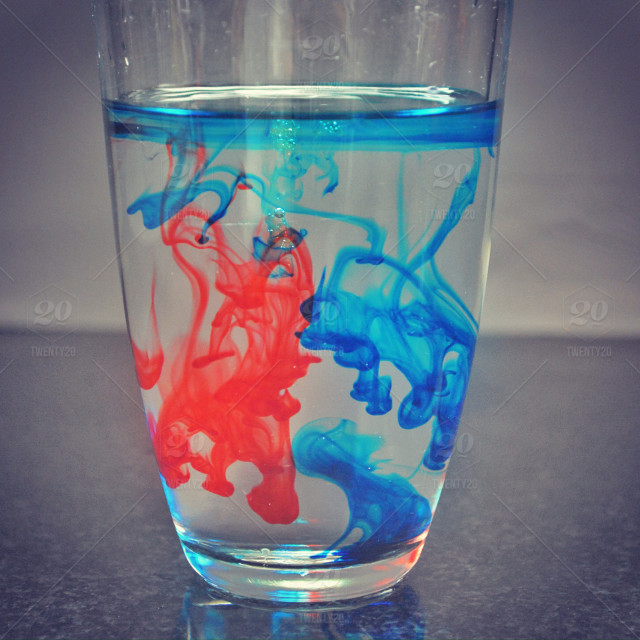
Pour some plain water into a cup (preferably see through). Use the syringe/pippette to add one of the colours into the water. Now add another colour. Mix them with a stick. What colour do they make?
It is a good idea to start simply and mix:
Yellow and red
Red and Blue
Blue and Yellow
Once the children have the idea, they can play about and see how many colours they can make! It's useful to talk about primary colours and why they are the basis for all other colours... if you're not sure, there is a video here.