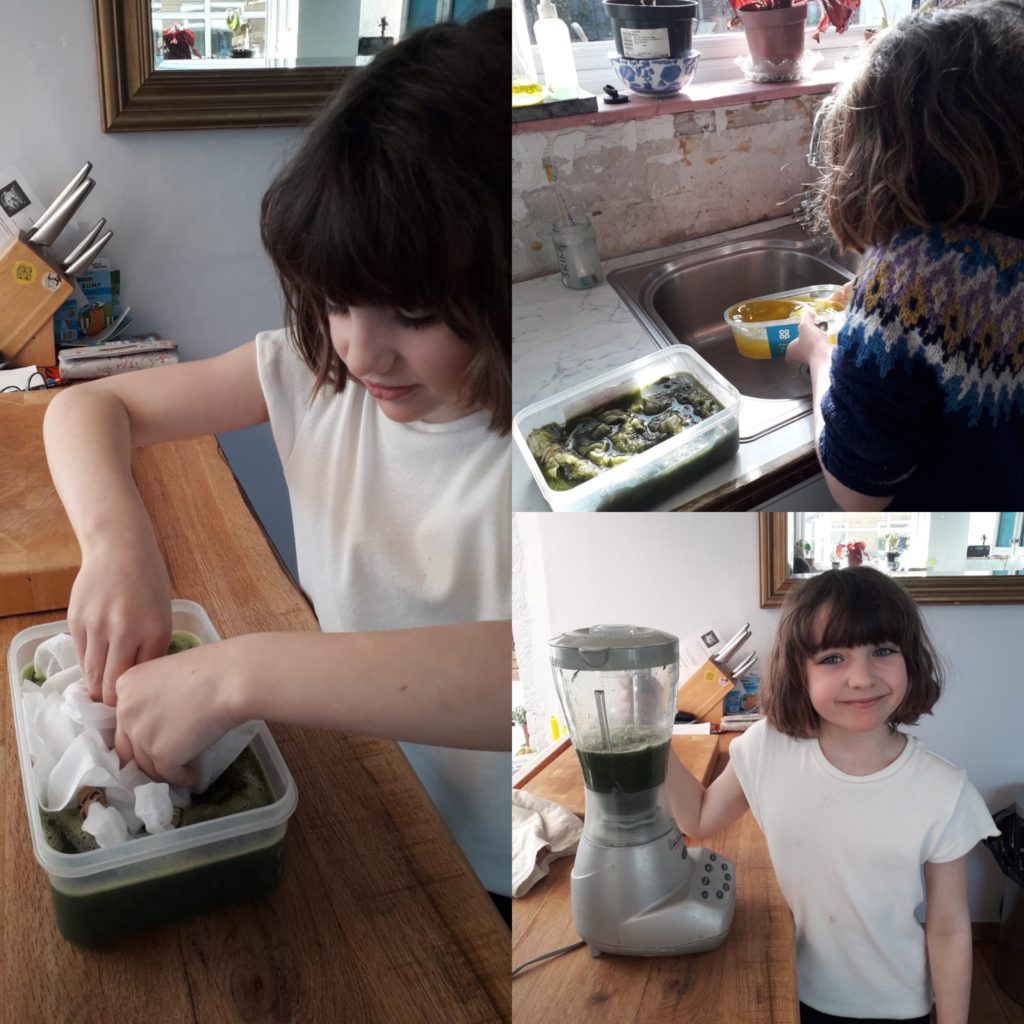
You will need:
A large tray (or washing up bowl), some water, grass, flowers or mud! An old white or cream t-shirt/vest/top. Some string. A saucepan, some salt (1/4 cup). A hammer or food processor.
Cut 3 long pieces of string. Screw your top into a ball and use the 3 pieces of string to tie it up. Tie it as tightly as you can.
Pop your top into a saucepan and cover with water. Now add 1/4 cup of salt (or vinegar) and simmer on a low heat for 1 hour. You might ask a grown up to keep an eye on it for you so that you can get on with the other tasks!
Now collect some flowers (or raid the cupboards!). We have some suggestions:
Blue: Grape hyacinths
Yellow: Dandelions and/or daffodils (or tumeric)
Red: Lavender or avocado skins
Green: grass, spinach or green seaweed
Grey: Blackberries
Put your finds into a bowl (you need to try to have the bowl at least 1/3 full) and then bash with a hammer (or pop into a food processor). Cover with water (about double the amount of the flowers/fruit/finds) in a saucepan and boil for about 40 mins (just enough time to have a good play!).
Now you've done the hard work and its time for the good part! Pop the flower liquid into a bowl (outside is better as it will cool down faster!). Take out the top from the other saucepan and rinse it under cold water. The ring it out. Take it to the bowl outside and give it a good stir. Then leave overnight.
Take it out and leave to dry in the sunshine (or you can ask a grown up to dry it on a plate in the microwave for 2 mins and then pop it over the top of a towel on a radiator).
Thursday's activity will always be one you can do inside.
You will need: A plastic see through bottle, a marker pen to write on the bottle, a ruler, a pair of scissors, a few stones.
- Place your bottle on the table and collect the scissors.
- Ask your grown up to cut the top off the bottle, or check with your grown up that they are happy for you to do this yourself.
- Place some stones in the bottom of the bottle (these will help weigh the bottle down and stop it blowing over).
- Draw a line at the top point of the stones. Write 0 next to it.
- Use a ruler hold it up vertically to the side of the bottle.
- Measuring from 0, draw a line each at each cm up to the top of the bottle (from 1-10 cm. 0 starts at the bottom and 10 goes at the top point.)
- Pour water into the bottle until it reaches the bottom of the stones/point 0.
- Put your rain gauge outside where it can collect water when it starts raining.
You can use this weather worksheet from Twinkl to track the amount of rain each day when the weather changes!
Don't forget to mail us with your rain measurements at the next rainfall - we will post up all the different areas so you can compare.


